
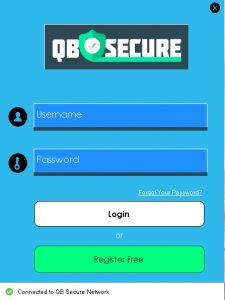
1. Post QB Secure Installation you will be presented with the Login Screen. Use your Email Address and Password to login to the QB Secure Account.
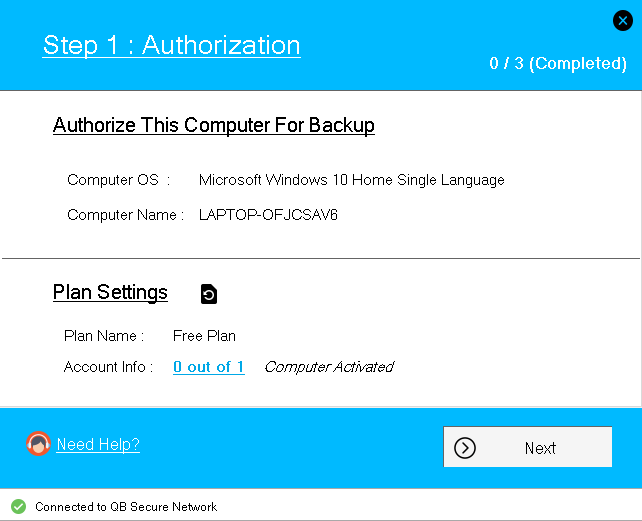
2. After you login with your Email Address and Password. If you are installing QB Secure for the first time on this computer then you will be presented with the 3 Step Setup Screen. To authorize QB Secure and add computer to the plan click on Next
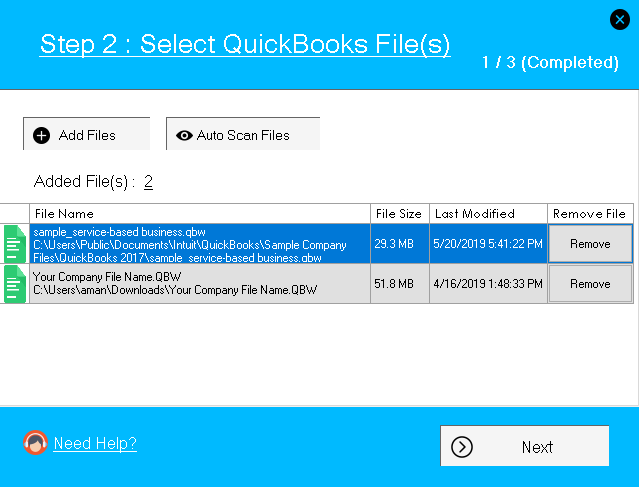
3. Next step is to Add QuickBooks Files for the Backup. You can add QuickBooks files manually or you can auto scan the files to be added to backup. Auto scanner will scan your Quickbooks files. Although you can add QBB Files also but we recommend to add only .QBW Files as company file data is subject to change but not for the backup.
Important : It is not recommend to add Sample Company File for the Backup as it will consume your storage space.
4. Final Step is to configure Backup Frequency of your Quickbooks Company Files , you can configure QB Secure to back up your Company Files Daily, Weekly , Monthly. Once you have configured Backup frequency and other options click on Finish.
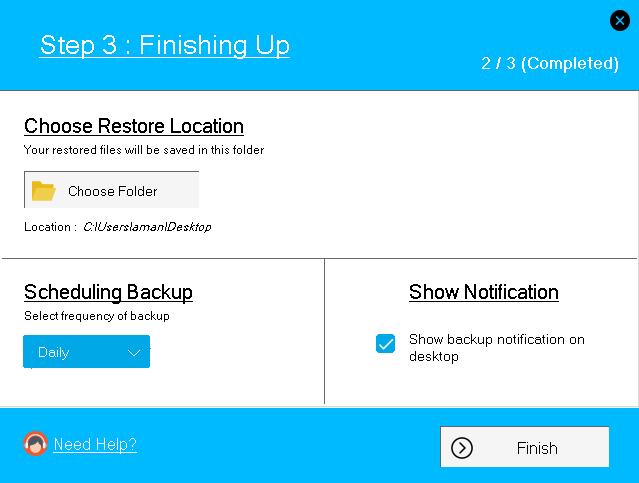
If your subscription is active and your storage limit has not been reached, QB Secure will start to backup your files once you complete the configuration.